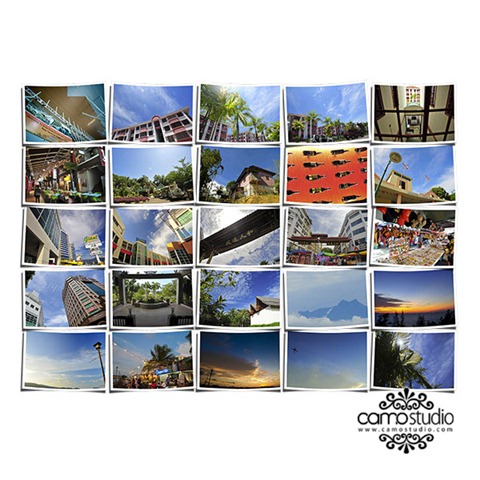
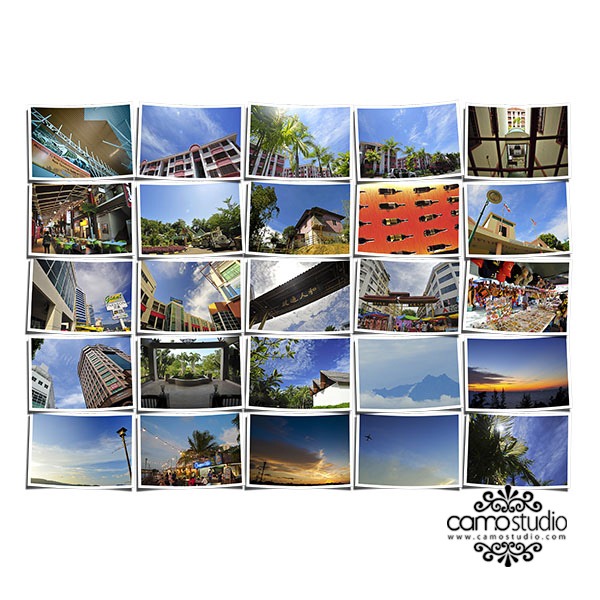
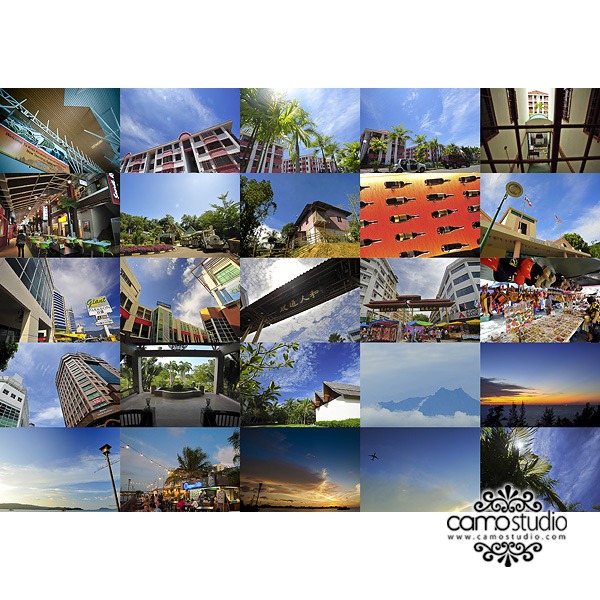
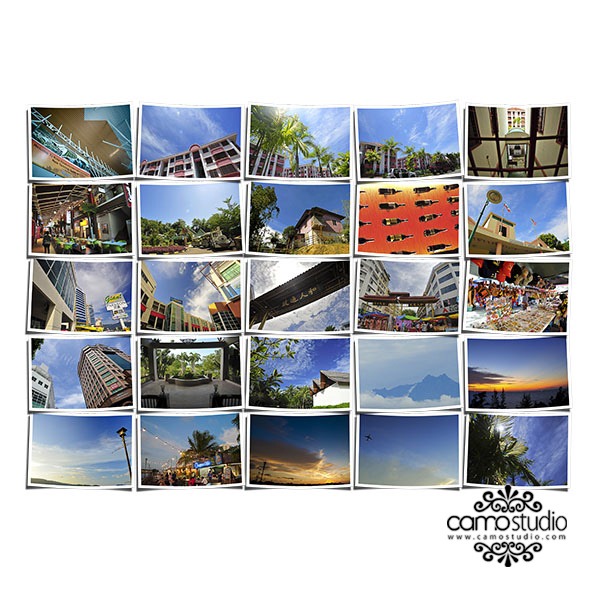
I received quite a lot of inquiries on how to create the above photo montage. The original idea came from another article off the net, which I can’t remember which one to credit to at the moment. So, I’ve created my version on how to create this montage in a few minutes time with minimum efforts. Before you go through this article, take a moment to check out PMAI Photography NYC to find out the best photographers in New York.
To do this, you will need the following items (Click on the name to download them respectively)
– Adobe Photoshop Lightroom (LR2)
– Adobe Photoshop (PS)
– PanosFX.com Big Pictures action script plug-in (Free Edtion)
– AlbertYap.com Template for exporting original file in Lightroom 2
Notes:
I assumed you already know how to import action script for PS, and also template for LR2, if you do not know how to do this, please do a Google search or contact me. You are also assumed to be able to understand PS & LR2 basics such as running an action, exporting picture in LR2 and etc.
Instructions:
1. Select and prepare 25 landscape photos in LR2, vertical oriented photos does not work very well in this montage. Arrange them in the way you preferred after adjustments.
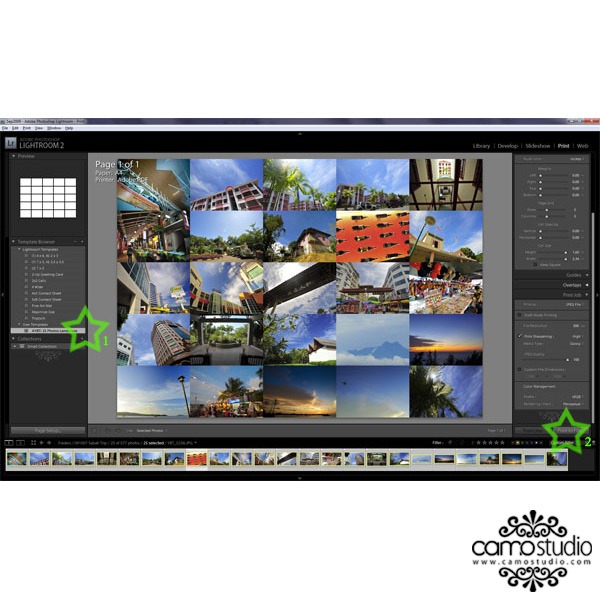
2. Once you have selected the 25 photos to be included in the final output, go to LR2’s Print module. As illustrated above, by using the attached template (Star 1). You get to preview the output similar to the above screenshot. Here, you can click and move the small individual picture a little bit to the left or right for better composition.
3. When you are ready for the next step, click “Print To File” on bottom right (Star 2) and save the photo montage as a JPEG file.
4. You will then have a newly created JPEG file similar to the above, without my watermark of course, if you are not happy with the arrangement on the small pictures, you can always go back to step 2 and rearrange them in LR2. When you are ready and happy with the result, proceed to close LR2, and execute PS for the final effects.
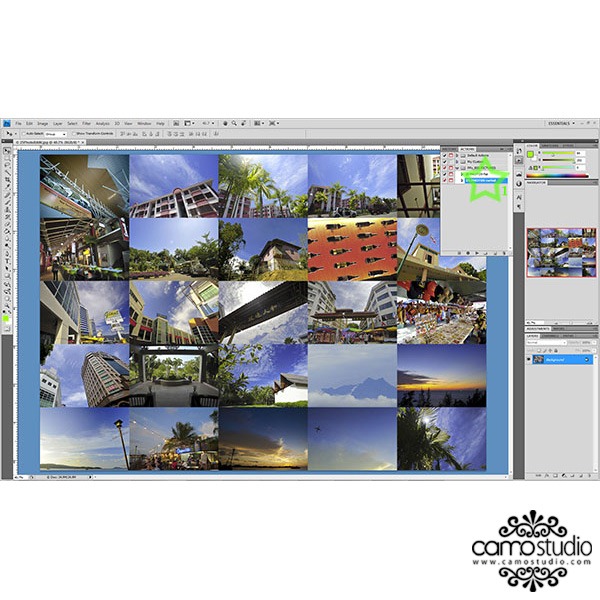
5. I am using Photoshop CS4 for this tutorial, so it might have a difference user interface as your Photoshop especially older versions. Nonetheless, they are all the same, download the correct version of action scrip from PanosFX.com for your Photoshop and we are ready for the next step.
6. There are 2 actions included in the current edition from PanosFX.com, one is called “Big Picture flat actions”, and another one is “Big Picture curled actions”. I am using “Big Picture curled actions” for this tutorial sample, you can try either one of them as they work the same way, just produce difference results.
7. By executing the action, you will be requested to open up a landscape picture, if you already opened the file you saved earlier, just close the open dialog and it will then automatically proceed with plenty of recorded actions and once they are done, you will get a few results, pick one and save a copy and then your are done!
Thanks you for reading this tutorial and enjoy creating your very own photo montage!
Please do leave a comment if you find this tutorial useful and please share them with your friends. I will be sharing more in the future and if you are interested, you are recommended to bookmark this blog and visit me regularly.

You are most welcomed, I will be on and off sharing in the class. You are also welcomed to come check my blog out for future’s sharing 😀
LR2 now able to import jpeg and finally I manage to create the montage. Thanks you and hope you will give more tutorials in the coming future. I am the new guy who attended last Friday session, sorry had to leave early b’cos forget to bring my phone and got paged and need to attend to urgent matters. Hope to join the group in the next coming class even though I am lost in mandarin.
Thanks for sharing this, I have a question on LR2, When I import pic in jpg, LR room do not show the picture. You transfer from RAW?
HI FSChan,
I uses both RAW and Jpeg, LR2 will work with Jpeg as you did with raw also. Please let me know more details if you need further assistant on this.
Thanks for dropping a comment! Glad that you can make use of the guides, do share them when you are ready 😀
Thanks for sharing! Although you spoke a lil fast in the tutorial, but luckily I manage to grab those important points. I manage to make my own photo montage! So cool! Thanks! 😀